Windows 10 Deployment with Microsoft Deployment Toolkit (MDT)
Deploying Windows 10 with Microsoft Deployment Toolkit (MDT)
Microsoft Deployment Toolkit is a collection of tools for automating desktop and server deployments. MDT performs deployments by using the Lite Touch Installation (LTI), Zero Touch Installation (ZTI), and User-Driven Installation (UDI) methods. Only MDT is used in LTI deployments, while ZTI and UDI deployments are performed using MDT with Configuration Manager.
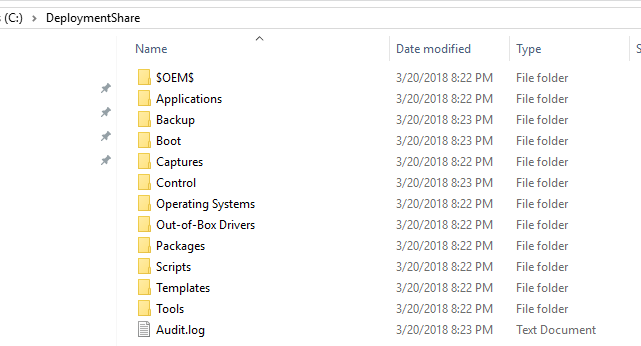
Once downloaded, you will find the tools inside C:\Program Files\Microsoft Deployment Toolkit\. It then creates the deployment share at C:\DeploymentShare which mimics the Deployment Workbench:
Deployment Workbench
The Deployment Workbench is an MMC snapin and will be the main area used to configure the deployment.
Configure MDT to Create the Reference Computer
- Download Windows ADK
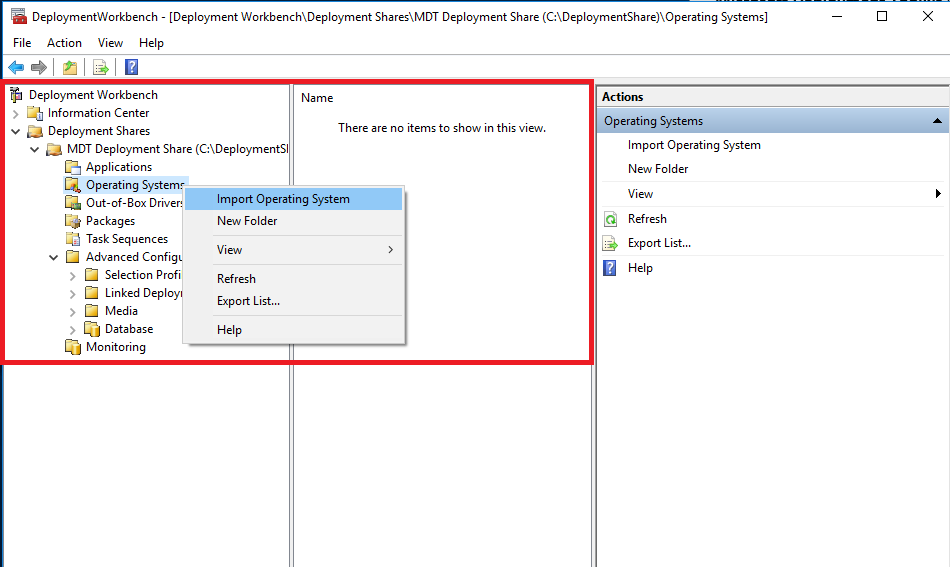
- Open the Deployment Workbench (DeploymentWorkbench.msc)
-
Import the Operating System (.ISO)

- Update any required Out-of-Box Drivers or Packages
-
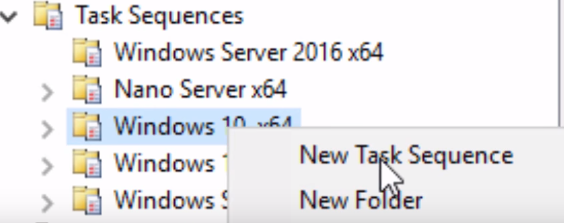
Create a Task Sequence
-
Update your deployment share
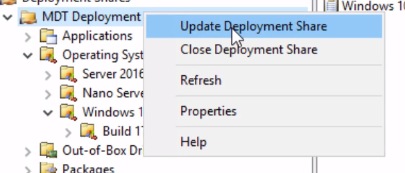
- The Deployment Workbench creates the C:\DeploymentShare\Boot\LiteTouchPE_x64.iso and LiteTouchPE_x64.wim files
Deploy Windows / Capture Image of Reference Computer
You can burn C:\DeploymentShare\Boot\LiteTouchPE_x64.iso to a DVD or you can add it to Windows Deployment Services, which is a server role that gives you the ability to deploy Windows through PXE.

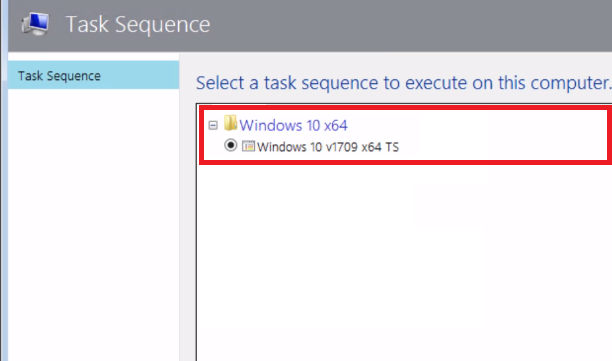
Now boot your reference computer with LiteTouchPE_x64.iso

Once Windows PE boots up, go ahead and choose your Task Sequence that you created earlier
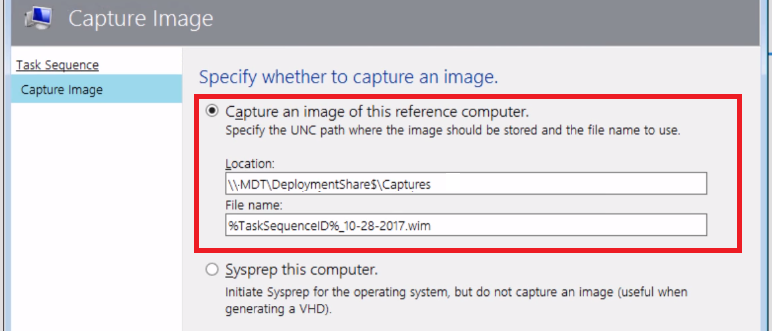
Since you are deploying this from the original operating system, out-of box drivers, applications, etc. you really want to capture a .WIM of this deployment and bring it back into the Deployment Workbench to deploy again so that it is all compacted into one neat file.
The task sequence deployment will begin
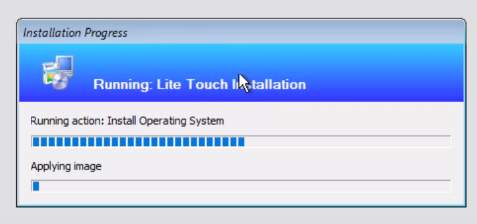
Now there will be a .WIM file of this Task Sequence deployment process ready for you to import into the Deployment Workbench.
Configure MDT to Deploy Windows to the Target Computers
During this task sequence process you chose to capture an image of your reference computer. Microsoft recommends you do this. Once you capture the image, you will have a .WIM file that you can import back into Deployment Workbench and start he whole process again (import WIM, create task sequence, boot PE, etc.) to finally deploy to your target computers
-
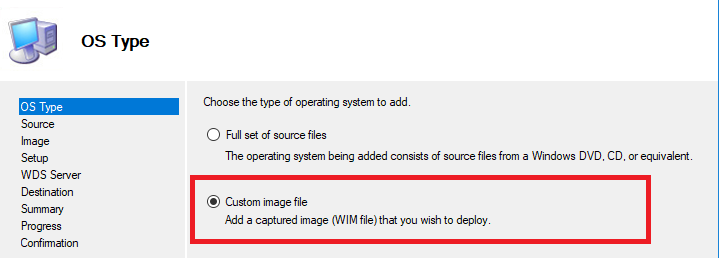
Add the captured image of the reference computer to the Deployment Workbench

-
Create a Task Sequence

- Again, boot from LiteTouchPE_x64.iso and this time choose your new Task Sequence you created for this WIM
Deciding to Use the Default Image or a Captured Image
Default image
The default image install.wim is included with the Windows ISO. This image is a basic operating system image that contains a standard set of drivers.
- Advantages
- The image size is smaller than a captured image.
- Installing apps and configurations with task sequences is dynamic
- Disadvantages
- Takes more time
Captured image
With a customized image, you build a reference computer, install apps and configure settings. Then, you capture the image from the computer as a WIM file.
- Advantages
- The installation can be faster than using the default image
- Disadvantages
- Not dynamic
- OS install portion takes longer

