Deploying Windows 10 with System Center Configuration Manager (SCCM)
Deploying Windows 10 with System Center Configuration Manager (SCCM)
There are a number of different ways Configuration Manager can be used to Deploy Windows 10.
- In-place Upgrade: Windows 7, 8, 8.1, or 10 to the latest version. The upgrade process retains the applications, settings, and user data on the computer.
- Refresh an existing computer (Wipe and Transfer Settings): Wipe an existing computer and installs a new operating system on the computer. You can migrate settings and user data after the operating system is installed.
- Bare Metal Install on a New Computer: Install Windows on a new computer.
- Replace an existing computer and transfer settings: Install Windows on a new computer. Optionally, you can migrate settings and user data from the old computer to the new computer.
In-place Upgrade

This method is used to upgrade Windows 7, 8, 8.1 to 10. You can also do build-to-build upgrades of Windows 10 such as 1607 to 1709. Additionally, starting in Configuration Manager 1802, the Windows 10 in-place upgrade task sequence supports deployment to internet-based clients managed through the cloud management gateway (CMG). This method is the most robust and has no external dependencies, such as the Windows ADK
With the in-place upgrade you:
- CANNOT change domain membership
- CANNOT change disk partitions
- CANNOT change architecture (x86 to x64)
Preparing the Upgrade Package
-
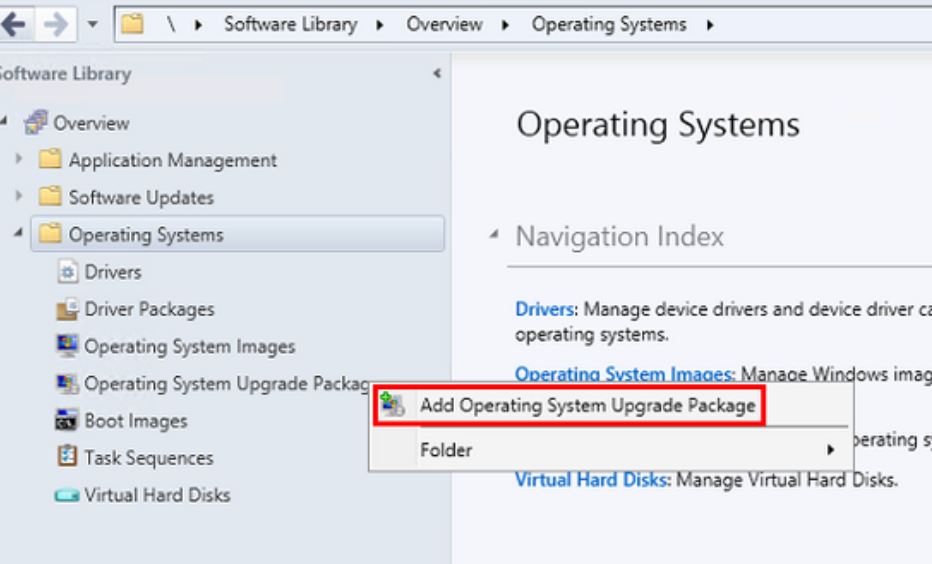
Add operating system upgrade packages to Configuration Manager (the extracted ISO path)
- Distribute operating system images to a distribution point
-
Apply software updates to an operating system upgrade package
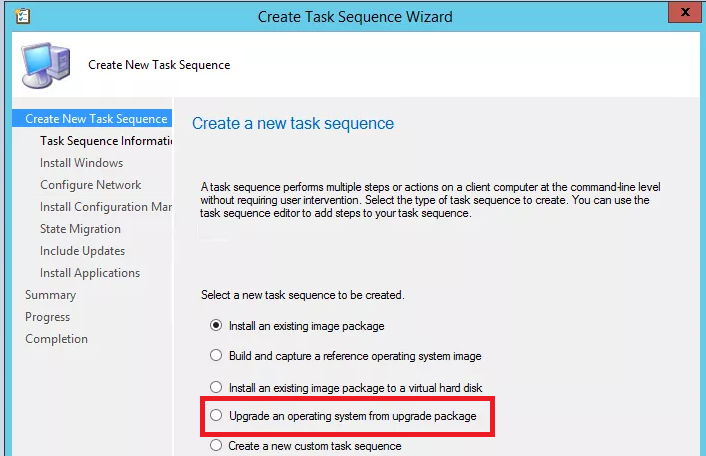
Create an In-place Upgrade Task Sequence
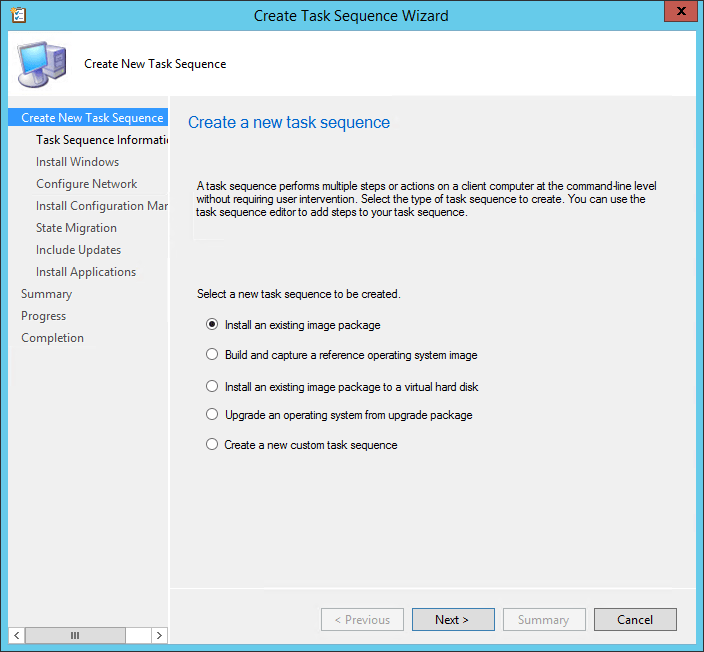
- Create a New Task Sequence -> Upgrade an operating system from upgrade package
- Select he Upgrade Package from the previous step
- Set Product key, Include Updates and Install Applications preferences
- Complete the wizard
-
Add steps to get the previous OS in an upgrade state, such as
- Battery checks
- Network/wired connection checks
- Remove incompatible applications
- Remove incompatible drivers
- Remove/suspend third-party antivirus.
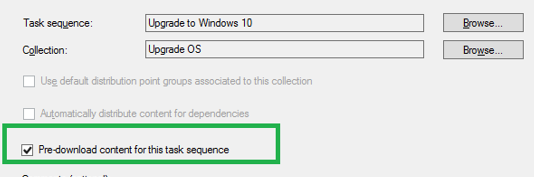
Pre-Cache Content on Client
You can optionally pre-deploy the Upgrade Package to clients so that they do not have to download it if they click to install it in Software Center. This is called pre-cache of the content.
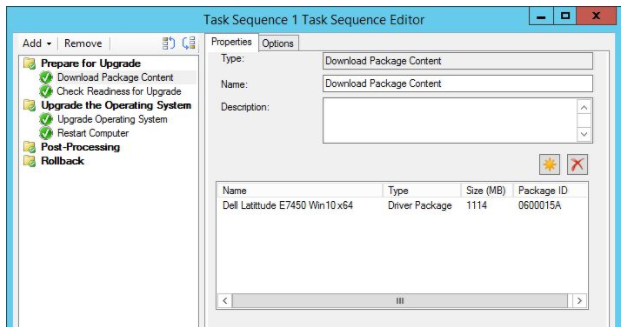
Download Package Content Step
You can also use the Add Download Package Content step to customize such things as detect the client architecture, hardware type for each driver package.
Deploy the Task Sequence to Computers
There are two ways in which you can deploy this task sequence to computers
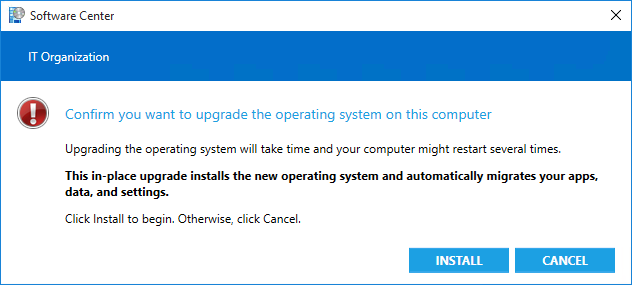
- Use Software Center to deploy over the network
- Use USB drive to deploy without using the network
- Cloud Management Gateway (1802 and above)
Deploy with Software Center
- Task Sequence -> Deploy
- Set Deployment Settings, Scheduling, User Experience, Distribution Points
- With 1802 you can now also choose to save this deployment as a template.
Deploy with USB Drive
- Select your task sequence and choose Create Task Sequence Media
Deploy with Cloud Management Gateway (CMG)
Starting with Configuration Manager 1802, you can use a CMG to deploy a task sequence.
- Ensure all of the content referenced by the in-place upgrade task sequence is distributed to a cloud distribution point.
-
When deploying the task sequence, check the additional options:
- Allow task sequence to run for client on the Internet, on the User Experience tab of the deployment.
- Download all content locally before starting task sequence, on the Distribution Points tab of the deployment.
- Other options such as Download content locally when needed by the running task sequence do not work in this scenario.
- Pre-download content for this task sequence, on the General tab of the deployment
Refresh an Existing Computer (Wipe and Transfer Settings)

Let’s look at how we can partition and format (wipe) an existing computer and install a new operating system onto it and transfer the settings as well. We need to install a state migration point to store and restore user settings on the new operating system after it is installed. This is called a Refresh
Prepare for a Refresh Scenario
There are several infrastructure requirements that must be in place before we can deploy operating systems with Configuration Manager.
Dependencies External to Configuration Manager
- Windows ADK for Windows 10
- User State Migration Tool (USMT) (transfer user settings)
- WinPE images (PXE boot media)
- Windows Server Update Services (WSUS) (for updates during deployment)
-
Windows Deployment Services (WDS) (PXE boot environment)
- Also DHCP enabled
- Internet Information Services (IIS) on the site system server
- Device drivers ready
Configuration Manger Dependences
- OS Image
- Driver catalog (import the device driver, enable it, and make it available on a distribution point)
- Management point
- PXE-enabled distribution point
- Install a State Migration Point and configure it
Prepare WinPE Boot Image
- Two default images are provided by Configuration Manager in \\servername>\SMS_<sitecode>\osd\boot\<x64> or <i386>
-
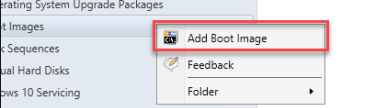
Add Boot Image (Operating Systems -> Boot Images)
- Distribute Boot Images to Distribution Points
- Boot Image Properties -> Data Source tab, select Deploy this boot image from the PXE-enabled distribution point
Prepare an Operating System Image
- Decide to use the default install.wim or capture a reference computer and make your own .wim file.
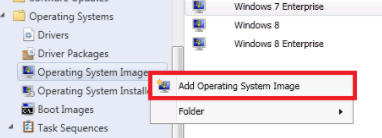
- Add the Operating System Image to Configuration Manager (Operating Systems -> Add Operating System Image)
- Distribute the Operating System to a Distribution Point
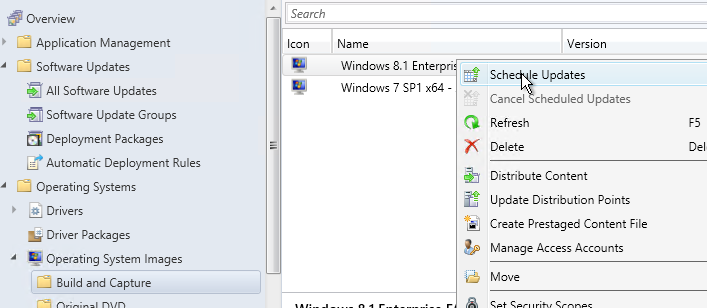
- Schedule Software Updates to the Operating System Image

Create a Task Sequence
- Create a New Task Sequence -> Install an existing image package

- Choose setting such as Image package (and image), partitions, product key
- Choose to Join A Domain
- Choose to install the Configuration Manager Client
-
Choose Under State Migration
- Capture user settings: capture the user state.
- Capture network settings: Captures network settings
- Capture Microsoft Windows settings: Capture the computer name, registered user and organization name, and the time zone settings.
Deploy the Task Sequence
You have a few different options to choose when deploying the task sequence.
- Use PXE to deploy over the network
- Use Multicast to deploy over the network
- Use Software Center to deploy over the network
-
Create an image for an OEM in factory or a local depot
- Create Task Sequence Media
- Use USB Drive to deploy Windows over the network
Bare Metal Install on a New Computer

Let’s look at how we can partition and format (wipe) a new computer and install a new operating system onto it.
Prepare for a Bare Metal Scenario
There are several infrastructure requirements that must be in place before we can deploy operating systems with Configuration Manager.
Dependencies External to Configuration Manager
- Windows ADK for Windows 10
- User State Migration Tool (USMT) (transfer user settings)
- WinPE images (PXE boot media)
- Windows Server Update Services (WSUS) (for updates during deployment)
-
Windows Deployment Services (WDS) (PXE boot environment)
- Also DHCP enabled
- Internet Information Services (IIS) on the site system server
- Device drivers ready
Configuration Manger Dependences
- OS Image
- Driver catalog (import the device driver, enable it, and make it available on a distribution point)
- Management point
- PXE-enabled distribution point
Everything else here is the same as a Refresh. Follow the directions above, skipping the sections where we would use the State Migration Point.
Replace an existing computer and transfer settings

Let’s look at how we can partition and format (wipe) a destination computer and install a new operating system onto it and transfer the settings as well from a source computer. We need to install a state migration point to store and restore user settings on the new operating system after it is installed. This is called a Refresh
Prepare for a Replace Scenario
There are several infrastructure requirements that must be in place before we can deploy operating systems with Configuration Manager.
Dependencies External to Configuration Manager
- Windows ADK for Windows 10
- User State Migration Tool (USMT) (transfer user settings)
- WinPE images (PXE boot media)
- Windows Server Update Services (WSUS) (for updates during deployment)
-
Windows Deployment Services (WDS) (PXE boot environment)
- Also DHCP enabled
- Internet Information Services (IIS) on the site system server
- Device drivers ready
Configuration Manger Dependences
- OS Image
- Driver catalog (import the device driver, enable it, and make it available on a distribution point)
- Management point
- PXE-enabled distribution point
- Install a State Migration Point and configure it
Configure State Migration Point
The scenario for a replace is similar to a restore. The exception is we need to configure the State Migration Point with settings to assure we have a spot to store our migration data that is not on the computer.
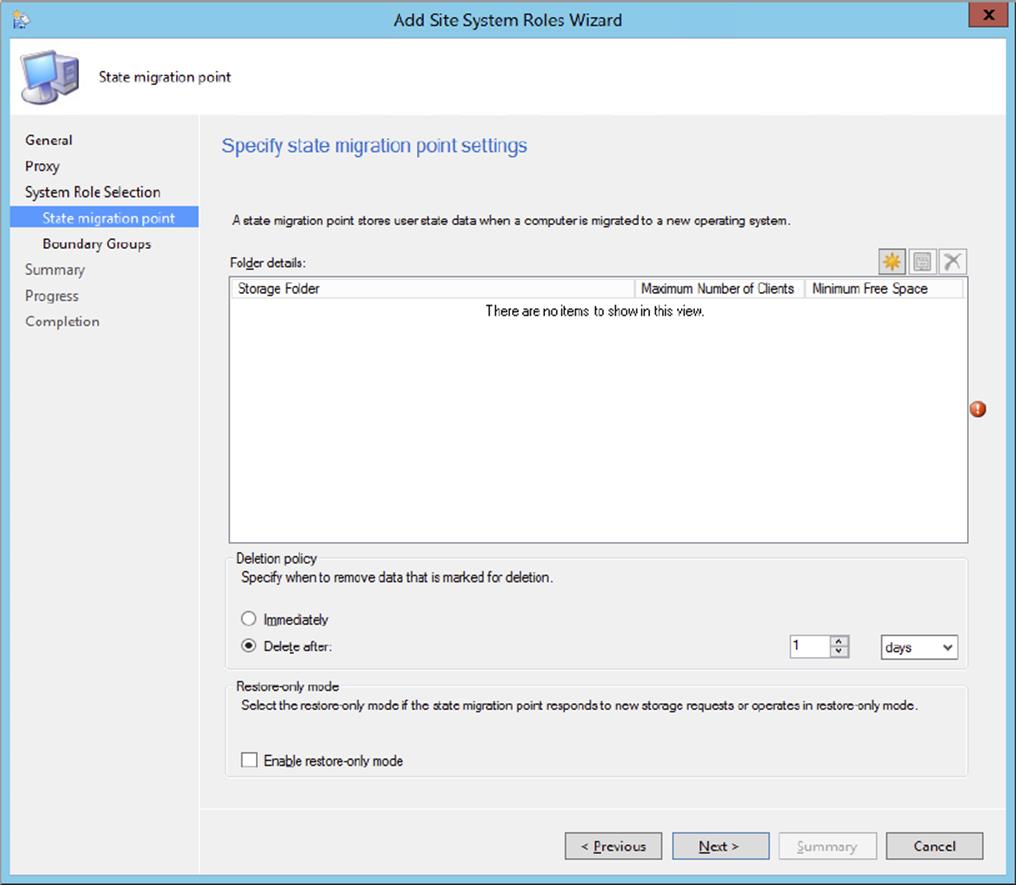
We must specify:
- The drive on the server to store the user state migration data.
- The maximum number of clients that can store data on the state migration point.
- The minimum free space for the state migration point to store user state data.
- The deletion policy for the role. Either specify that the user state data is deleted immediately after it is restored on a computer, or after a specific number of days after the user data is restored on a computer.
- Whether the state migration point responds only to requests to restore user state data. When you enable this option, you cannot use the state migration point to store user state data.

